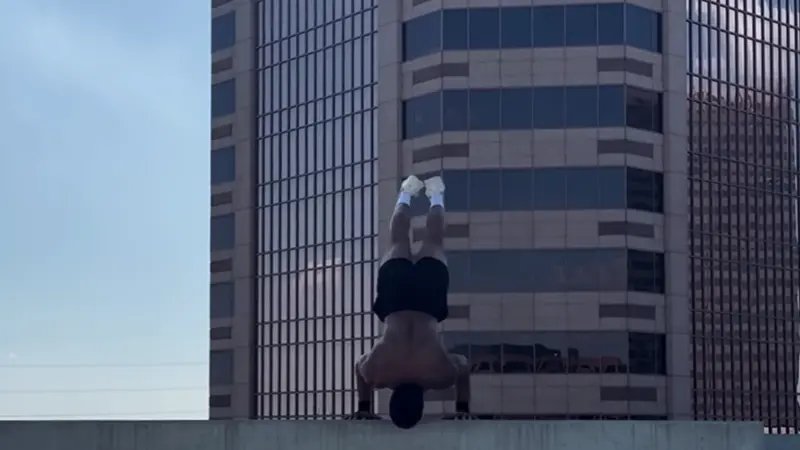
The freestanding handstand push-up is one of the great displays of balance and strength in calisthenics. It's an overhead press with your full bodyweight - like a military press - but with no wall to lean on, your whole lower body has to work to keep you still and balanced. It looks impossible. It isn't. With the right form and progressions, it's very much a real-human skill.
Prerequisites
You're ready to start training the freestanding version when all of these feel easy:
- Solid wall handstand push-ups, belly-to-wall, for clean sets
- Strong elevated pike push-ups with a tight pike
- A comfortable freestanding handstand - you can't press what you can't hold
- Healthy, mobile wrists (parallettes help a lot here, see the tips)
How to do it
Place your hands on the ground shoulder-width apart, turned slightly outwards if that's comfortable. In the handstand, balance on three points: the fingers, the inside of the knuckles, and the palms. As you bend your arms, the weight shifts to the outside of the palms and fingers - expect it.
This is not a straight up-and-down piston like in fiction. That would need flared elbows, which is a rough position for beginners. Instead:
Watch more here:
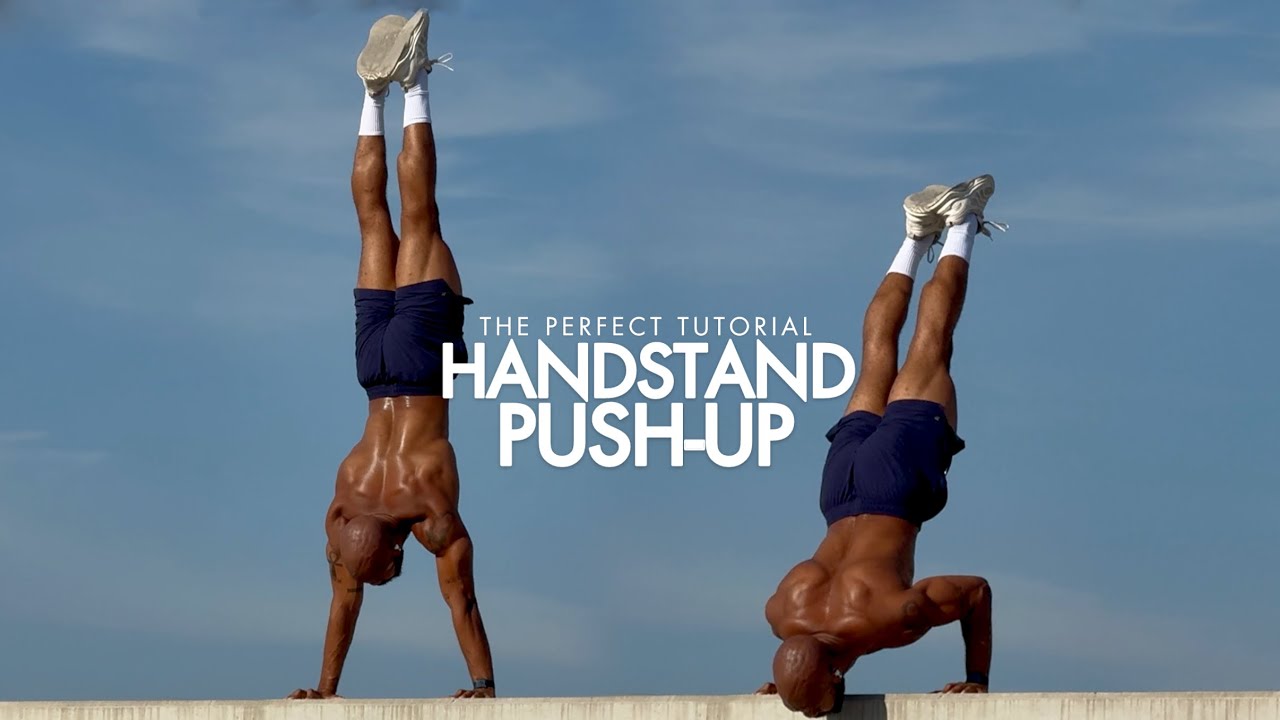
Video by STRIQfit
Progressions
- Pike push-up - the perfect overhead pressing pattern with the same body cues. Widen the pike to make it easier, tighten it as you get stronger. Push up and out through the shoulders and scapula
- Elevated pike push-up - feet on a small elevation, raising it as you get stronger. More pressure on the hands
- Floating pike push-up - at the bottom of the rep, lift your feet slightly off the ground. Brutal for shoulder stability and strength - respect these. To go further, extend into a shoulder stand at the top before returning to the pike
- Wall handstand push-up - practice the full movement without fear of falling. Squeeze glutes, legs and core, point your toes. Then release one leg from the wall, using just one leg as assistance
- Back-to-wall handstand push-up - flip around so you're not pushing back into the wall. Noticeably harder. Again, two legs first, then one
- Negatives - use slow declines to build strength: at least 4–6 seconds down to count as a rep
- Freestanding handstand push-up - put it all together
Common issues
- Falling out of the bottom: solidify the bottom of the rep with the shoulder stand exercise
- Banana back on the press: you're losing lower-body engagement - squeeze your glutes and legs to keep everything in one line
- Always tipping to the same side: you have an imbalance. Fix it with shoulder taps or weight shifts on the wall; get your supporting hand comfortable before switching
- Grip failing at the bottom: normal - the bottom of the rep transfers weight to the outside of your hands. It builds up with practice
- Wrist pain: get parallettes. They fix your wrists in one position and let you keep training when your wrists are fatigued
Key tips
- Tucked elbows and a shoulder-stand descent - not a flared, straight-down piston
- Squeeze glutes, legs and core the whole time; point your toes to keep the line
- Think "lift the toes" as you press back up
- Breathe like a push-up: in on the way down, out on the press