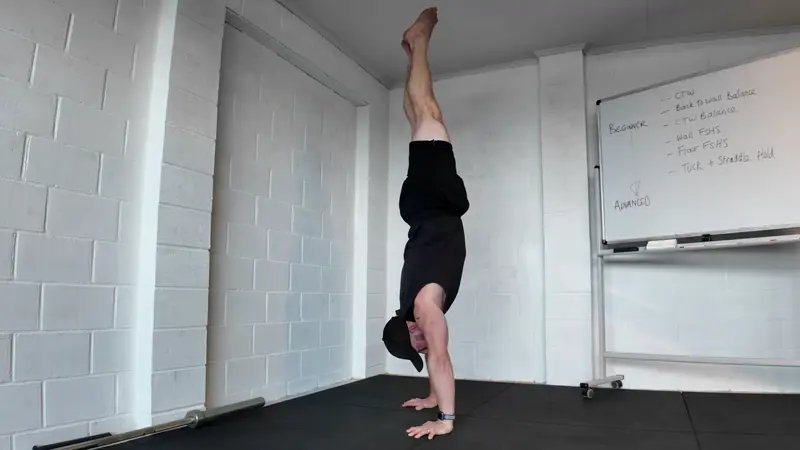
The freestanding handstand is an upside-down balance skill where you support your entire body weight on your hands in a straight line without touching a wall or any other support. It's a skill everyone wants and almost everyone rushes.
Prerequisites
- Healthy, mobile wrists that tolerate loaded extension
- A solid hollow hold - you need to know how to hold one straight line
- A plank and basic overhead pushing strength from pike push-ups
How to do it
Hands on the floor, shoulder-width, fingers spread. From the ground up:
- Hands: balance on three points - fingers, inside of the knuckles, palms. Fingers press to stop yourself falling over; palms press to stop yourself falling back
- Shoulders: stacked directly on top of your hands, pushing tall - never sunk
- Ribs and hips: ribs down, glutes squeezed, legs glued together, toes pointed. One segment, not two
- Eyes: one fixed focal point on the floor between your hands. Pick it before you kick and don't let it move
Kick up with a light, controlled kick - small kick, check you can hold, bigger kick, check, then all the way up. The handstand itself is a constant micro-correction between falling over (fix with fingers) and falling back (fix with palms). Your job is to live in the middle.
Watch more here:
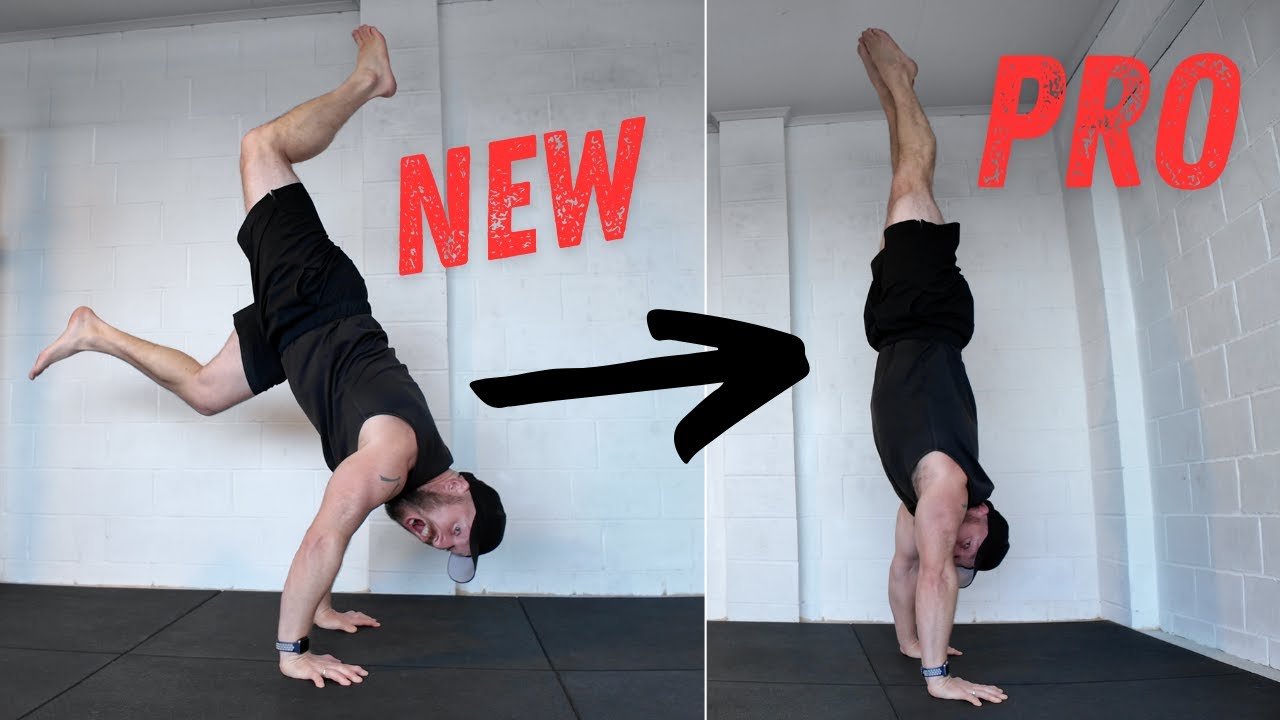
Video by Paul Twyman
Progressions
Work these in order, but expect them to overlap - you'll spend 80% of your time on one and 20% on the next, then the ratio flips.
- Chest-to-wall hold - walk your feet up the wall and your hands in toward it until your body is vertical and your belly is near the wall. Build to a comfortable 60 seconds, meaning you don't collapse and you can come down under control
- Back-to-wall balance (overbalance drill) - kick up with your back to the wall, then push through your fingers until the tension pulls your heels off the wall, and lower back. Reps first, then hold for a few seconds each rep. This is the safest place to learn overbalance - you can't fall
- Chest-to-wall balance (underbalance drill) - facing the wall, keep the body one segment and pull away using the shoulders so they travel slightly in front of the hands, then push back to the wall. Reps first, then time. Have someone stand near your calves if you want a spot
- Pull-away holds, both sides - from back-to-wall, pull off and accumulate up to ~20 seconds free. Then the same from chest-to-wall, 10–20 seconds. This is the real gate: control on both sides of balance
- Freestanding handstand - same setup in the middle of the room. Kick, catch, and use both drills to sit between overbalance and underbalance. Build height, hold time, and consistency of the catch
- Tuck and straddle - practise both back-to-wall and chest-to-wall. Keep each shape as one tight segment. Chest-to-wall tuck with the femur parallel to the floor is brutal mobility work; the straddle can be practised with a light butt-touch on the wall
- Transitions - straight → tuck → straight, straight → straddle → straight, tuck ↔ straddle. Reps and time in every shape is a genuinely strong handstand practice
- One-arm handstand - from a straddle, flag side to side keeping the elbow and shoulder pulled toward the midline, come onto fingertips, then one finger, then lift the hand. Years of balance time live here
Common issues
- Bailing badly: learn to exit before you learn to hold. Either walk down the wall under control, or turn out sideways by dropping one arm and pivoting - don't fold backwards
- Banana back: ribs are flared and the body is in two segments. Squeeze glutes and legs and think "one line"
- Kicking too hard: you overshoot and fall every time. Small kick, check, bigger kick, check
- Eyes wandering: if the focal point moves, you move. Glue it down before you kick
- Wrist pain: warm the wrists up properly, and consider parallettes to keep training when they're fatigued
- Skipping the wall: the wall drills are what make your window of balance wide. Freestanding time without them is just falling practice
Key tips
- Fingers stop the overbalance, palms stop the underbalance - that's the entire balance game
- Comfortable means you can come down under control, not just get up there
- Progress the chest-to-wall hold by moving your hands closer to the wall each week, not just by adding seconds
- Get equally good at both sides of balance before leaving the wall
- Shapes change with limb length and flexibility - expect your straddle setup to need tweaking
- Enjoy the journey; this one is measured in months, not weeks