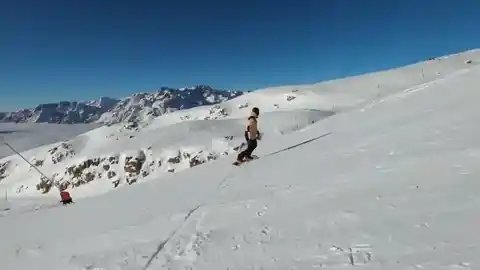
Switch carving is where things get humbling: doing everything you've built into your carving all over again, on the opposite foot. Before stacking the two together you should be confidently carving on steeper terrain on your natural stance and reasonably comfortable riding switch. If you can carve confidently with your bad foot forward, your edge control is basically complete.
Everything you've built on your natural stance - the weight shift, the shoulder lead, the ankle roll - has to be rebuilt for the opposite foot. Start on a green you'd otherwise find boring and re-learn basic carved turns switch-first. Look over what is now your lead shoulder, drive your (new) front foot forward, and pay attention to which edge changes still feel awkward. Most riders have one switch edge that's strong and one that's terrifying. That's the one to drill. Move to blues only when switch carves there feel stacked and controlled, and save switch carving on blacks for when it's genuinely second nature, not a test of nerve.
Key tips
- Drop back to a green and relearn the basics with the opposite foot forward
- Look over your new lead shoulder and drive the new front foot forward
- Identify your weaker switch edge and drill that one specifically
- Don't take switch to a black until it's second nature on a blue
- If conditions turn scrappy mid-run, switch to short skidded turns. A broken carve is a long slide