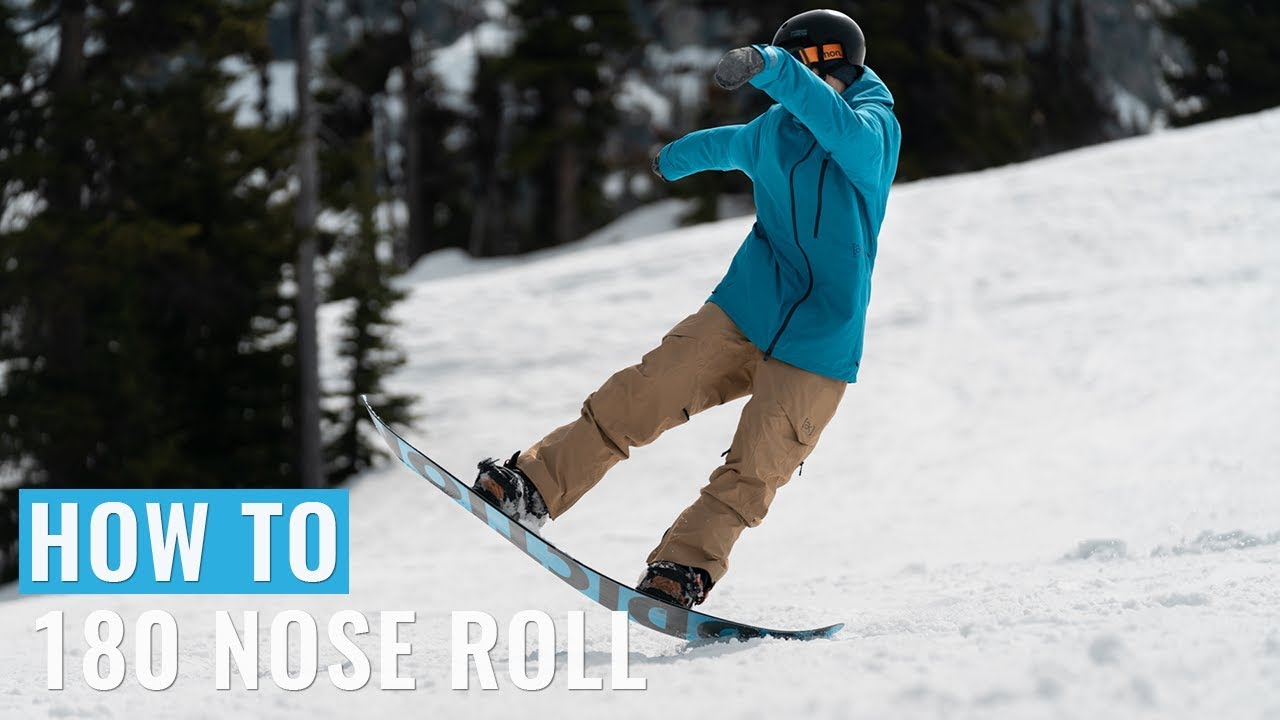

Standing 180 Nose Roll
The standing 180 nose roll is one of the most rewarding flatground tricks you can learn. No speed, no air, no scary commitment — just you, your board, and a clean little pivot that leaves you riding switch. It's the kind of move that levels up your edge control and balance in a single afternoon.
How to
You load your nose, lift your tail, and let your upper body swing the board around 180 degrees underneath you. Done from a standstill, it's pure technique, which is exactly why it's such a good thing to learn.
Set up on flat ground with your knees soft and weight centered. Pick the direction you want to spin and look that way over your front shoulder — head first, then shoulders, then hips, then board. That order is the whole secret. Shift about 70% of your weight onto your front foot, pressing down through the ball of your foot into the nose. As you press, start rotating your upper body and let your back foot float up. The tail will swing around almost on its own. Land centered, riding switch.
Frontside (spinning toward your toes) is the friendliest place to start because you can see where you're going the whole time. Once it clicks, backside follows quickly, and from there the door opens to nose rolls in motion, nollie 180s, and every buttery flatground combo you've ever admired.
Here is a video showing a 180-nose-roll. In the video, it is only shown while riding, but start learing this trick standing still.
Video by Snowboard Addiction
Key tips:
- Lead with your head and shoulders — your board follows, never the other way around.
- Press the nose, don't lift the tail. Counter-pressure does the work for you.
- Keep your weight forward through the whole spin. Leaning back stalls it out.
- Pick a spot behind you and lock your eyes onto it before you start.
- Start on dead-flat ground. Add motion only once it feels automatic.
- Learn frontside first, then backside — both unlock the same bag of tricks.