Straight Run and J-Turns J-Turns & Toeside Stops
- Skill:
- stop on your toe edge with a J-turn
- Prerequisites:
- Strapping In Getting Up From a Fall How to Fall
In the last article you stopped on your heel edge. This one gets you the same stop on your toe edge. You'll learn it as a J-turn, which is the cleanest way to practise a stop from a bit of speed.
What a J-turn is
A J-turn is a straight run that ends in a stop. You point the board down the fall line, let it pick up a little speed, then steer it across the hill until it stops. Look back up the slope afterwards and your track is a J: a straight stem, then a hook at the bottom where the board turned.
It's a stop, not a turn you will learn that later. You only go one direction, so you can put all your attention on finding the edge. Which edge you finish on decides which way the J hooks:
- Heelside J-turn: you end up facing downhill, weight on your heels. This is the heel-side skid stop you already know, just with a bit of run-in first.
Source: Johnathan Buckhouse
- Toeside J-turn: you end up facing uphill, weight on your toes. This is the focus of this article.
Source: Johnathan Buckhouse
How to do it
-
The setup Strap in on a gentle green slope and point the board straight down the fall line. Let it run for a few metres. You must embrace this part, as it is simply not possible to break while pointing the board downhill. Look across the hill, towards where you want to stop, not down at your feet.
-
The toeside J-turn Pull your lead shoulder uphill and keep your head up, looking across the fall line. Drive your lead knee forwards and down, as if squashing a bug under your front foot. The toe edge bites the snow and the board swings across the hill underneath you.
-
The finish Let the board skid until it's perpendicular to the fall line and comes to a stop. You should be facing uphill, balanced over the board, with your weight still on your toes. Hold it for a second before you relax.
Once the toeside version works, mix in heelside J-turns from the same straight run.
Note: This can be very difficult if the the hill is icy. Wet soggy slush-ice snow is easier to practice on than ice conditions, while new fresh now is best place to learn.
Common mistakes
- Not committing to the edge. If you only half rise onto your toes the board keeps sliding downhill. Exaggerate it: shins hard into the boots, knees forward, until you feel the edge grip.
- Looking down at the board. Your body follows your head. Look down and you fold forwards and lose balance. Keep your eyes up and across the hill.
- Sitting back onto your heels. Facing uphill feels exposed, and the instinct is to lean back towards the slope you can see. That flattens the board and it runs away from you. Keep your hips over your toes.
- Too much speed on the run-in. The J-turn is a stop first. A few metres of straight run is plenty until the toe edge feels reliable.
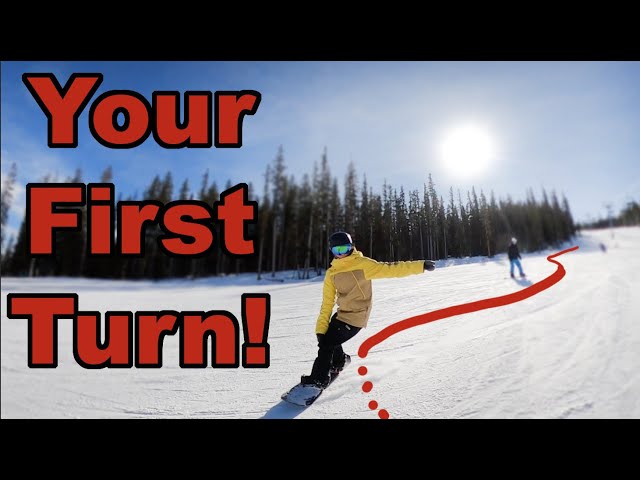
This video focuses both on the heelside and toeside, watch it here:
Video by Johnathan Buckhouse
