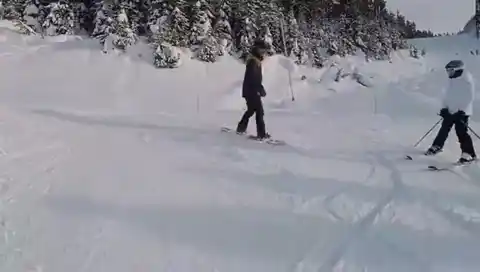
Linking turns means smoothly transitioning from heel-edge to toe-edge and back, making an S-shape down the mountain. The goal is to start down a green or blue run without falling, which is what takes you from beginner to real snowboarding.
You should already be comfortable with isolated heel-edge turns and toe-edge turns. The transition between edges is the whole new piece. As a heel-side turn finishes and the board is across the slope, you'll feel pressure build up against your heels. That's the moment to release: shift weight slightly forward, let the board flatten, and let the nose drop down the fall line. As the board passes through flat base and starts pointing downhill, tip your ankles and knees the other direction, onto the toe edge. If you do this cleanly, the two turns feel like one continuous S rather than two separate moves.
Most beginners fall in the transition, not the turn. Going through flat base pointed downhill is scary, because the board picks up speed for a split second. If you freeze at that moment, the board will either catch an edge or fly away under you. The counterintuitive fix is to commit harder and faster. A confident, quick edge change is much safer than a hesitant one.
Here are some tips to help you out:
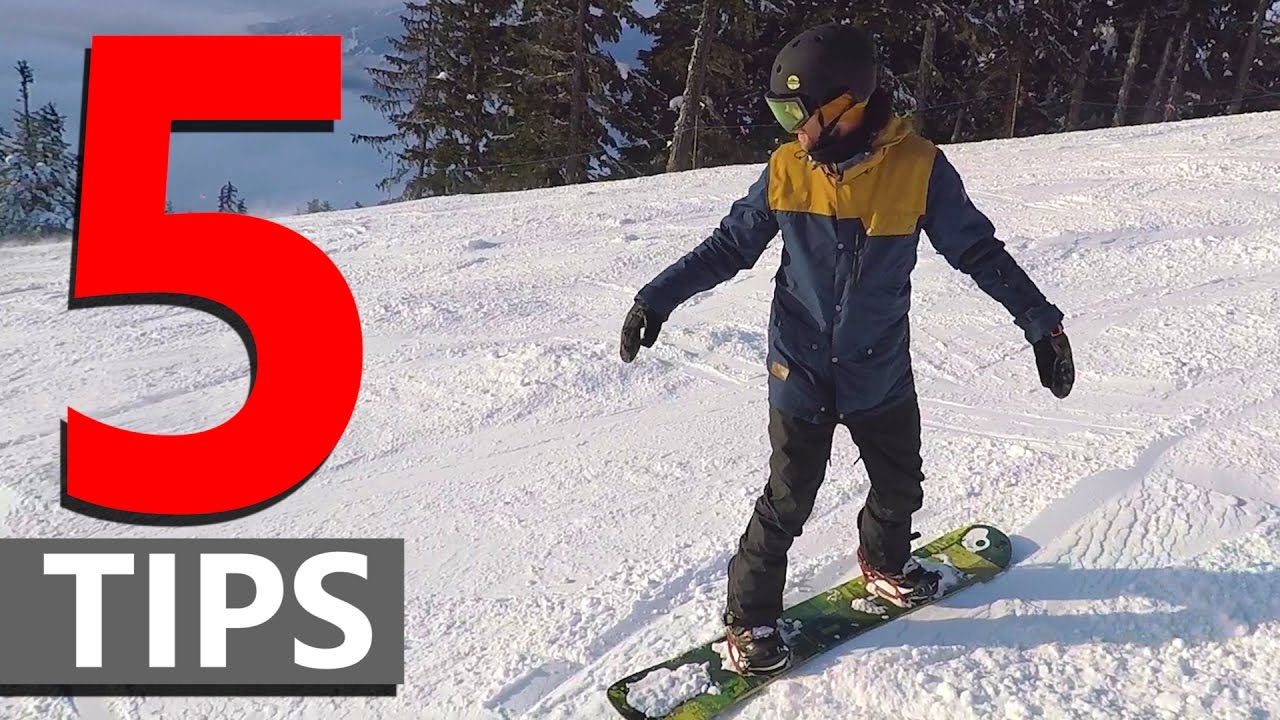
Video by SnowboardProCamp
Key tips
- Shift your weight to the front foot to start each turn
- The transition between edges happens when the board points downhill
- Don't rush. Let each turn finish before starting the next
- Start on a wide, gentle green slope with plenty of room
- Count a rhythm out loud ("heel… toe… heel… toe") so your turns stay evenly spaced
- Your first full run without falling is the milestone. Everything after that gets dramatically easier